DIY Earrings
These DIY earrings are so much fun!! They are easy to make and you don't need a lot of material so they are low cost.
In this tutorial I'm using Siser Stripflock heat transfer vinyl combined with Siser Easyweed HTV. I like the way the Stripflock vinyl feels and looks, it has the perfect thickness and it's super easy to cut.
I've also created some earrings with Faux Leather (Cricut Brand) and I really like how they turned out. Faux leather is definitely harder to cut then Siser Stripflock. If you can't get a clean cut try pressing HTV on the fuzzy back of the faux leather before you cut it. I recommend using patterned HTV or foil vinyl for single layer earrings (without a middle or back part) because it will make your earrings extra special.
Ok, let's get started!
First you need to open one of my Earring SVG files in your cutting machine program. I'm a Silhouette Cameo girl but don't you worry Cricut users, I've got you covered.
Here are the instructions for Silhouette Studio users:

Select the design and resize it to the size you like best.


Ungroup it and delete the earring in the top left corner, it's just there to show you what the assembled earring will look like.

I'm pretty sure you've got it from here... :-)
Here are the instructions for Design Space users:

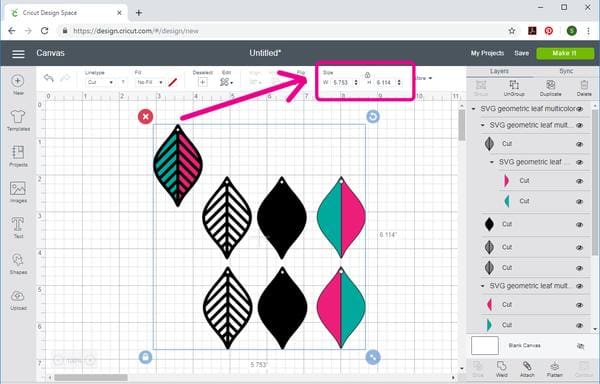
Select the design and resize it.


Ungroup it and delete the earring in the top left corner, it's just there to show you what the assembled earring will look like.

You are all set!
Time to cut and assemble the earrings

Cut the black shapes using Stripflock heat transfer vinyl. Use Siser Easyweed HTV or patterned HTV for the colored pieces.

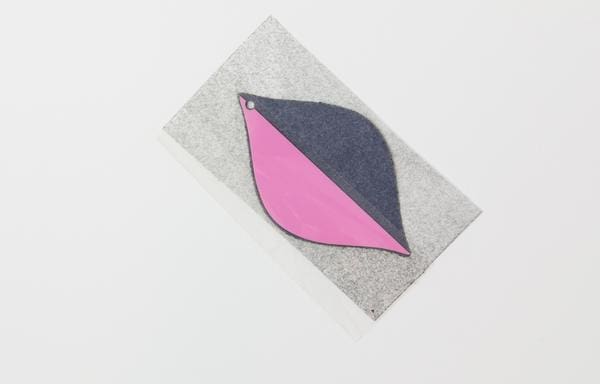
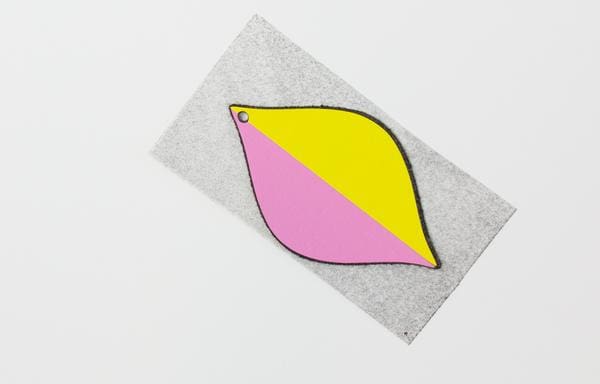
After you are done weeding everything you can start assembling the earring. Place one of the colored pieces on top of the solid back part, adhesive sides facing each other. The colored parts are designed a tiny bit smaller than the back part so they don't peek out on the sides.

Now this is important: Use a heat transfer backing sheet (sticky carrier sheet) to cover both pieces. You can use a piece that's left over from your last HTV project. Not only will it protect the exposed adhesive of the back part, it also keeps both pieces in place so they don't move around when you press them.

After you've pressed the two pieces you can remove the carrier sheet of the colored piece but leave the backing on the Stripflock. Repeat these steps with the other colored piece.

Now you can place the front part of the earring on top, making sure to align it perfectly. I recommend adding the extra carrier sheet again to hold the two pieces in place, the backing of the Stripflock vinyl isn't very sticky. Press it, let it cool down, then carefully remove the carrier sheet from the front and back.

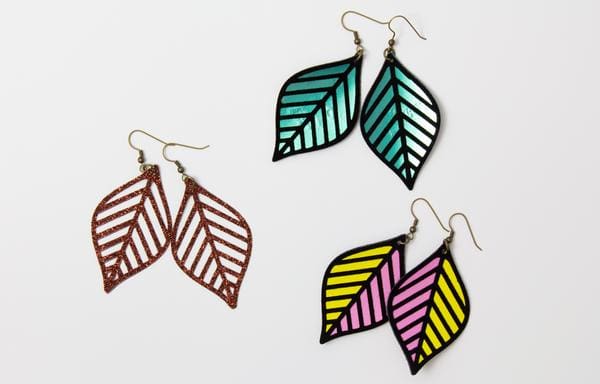
Add jump rings and earring hooks - tadaaaaa - you are done! YAY!! Super cute, right?? You can use glitter HTV instead of Stripflock, just one color instead of two, or do no middle layer at all and attach two "top layers" to each other. Play around, have fun and create your own unique masterpiece!


Add a comment